There’s a special kind of regret that comes from a bad at-home brow job: the over-plucked arches of the early 2000s live on in group photos as a warning to us all. But professional brow appointments cost £15–£40 a pop, and in 2026 the tools and techniques for safe DIY brow shaping have never been better. The trick isn’t talent — it’s restraint, good lighting, and knowing exactly when to stop.
Here’s how to shape your eyebrows at home safely, whether you’re tidying up between salon visits or doing the whole thing yourself for the first time.
Before You Touch Anything: The Ground Rules
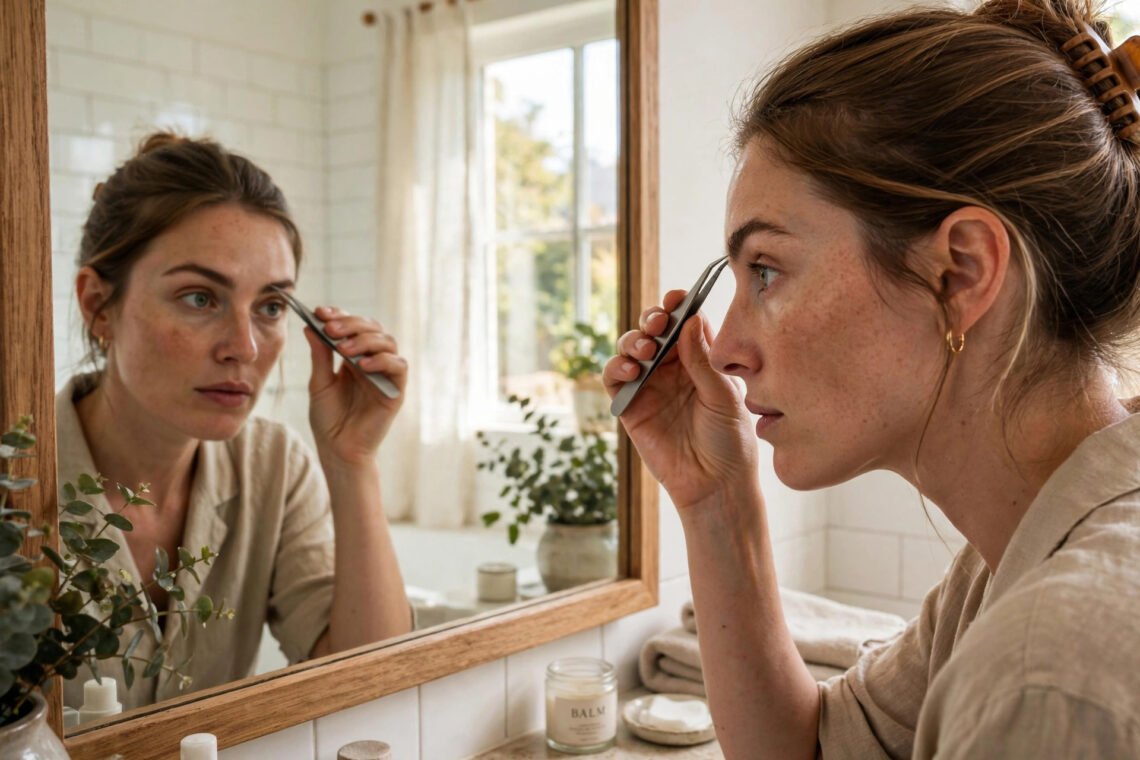
Three rules prevent 95% of brow disasters. Rule one: never shape in a magnifying mirror. Magnification makes every hair look like a problem; step back to a normal mirror and you’ll see your brows are probably fine. Rule two: daylight only. Bathroom downlights cast shadows that lie to you — sit facing a window. Rule three: you can always take more off tomorrow, but you can’t put it back today. Brows take 6–8 weeks to fully regrow. When in doubt, stop.
If you have very sparse brows from years of over-plucking, a skin condition like alopecia, or you’re on medication affecting hair growth, check with your GP first — the NHS guidance on hair loss covers when thinning brows signal something worth investigating rather than just shaping around.
Mapping Your Natural Shape (The Only “Technique” You Need)
Forget stencils — your face already knows the shape. Hold a pencil vertically against the side of your nose: where it crosses your brow is where the brow should start. Angle the pencil from your nostril past the outer edge of your iris: that’s where your arch peaks. Angle it from nostril to the outer corner of your eye: that’s where the brow should end. Mark these three points lightly with a brow pencil. Everything outside the marks is fair game; everything inside stays.
This mapping matters more than any tool choice. Most bad DIY jobs aren’t bad technique — they’re bad geography: brows started too far in (hello, unibrow anxiety) or ended too short (hello, surprised expression). Brow shape is part of your overall look, and the most flattering brows always follow your bone structure rather than a trend.
Tweezing vs Waxing vs Threading at Home
Tweezing: the safest DIY method
For beginners, tweezing wins outright. It’s precise, free, and — crucially — slow, which makes overdoing it harder. Use slant-tip tweezers (the £10–£15 ones genuinely grip better than pound-shop versions), pull in the direction of growth, and work from underneath the brow, never from above. Tweeze one or two hairs, step back, assess. The British Association of Dermatologists advises keeping skin clean before and after to prevent ingrown hairs and minor infections.
At-home waxing: fast but unforgiving
Pre-waxed strips are quick and give clean lines, but wax removes a whole row at once — there’s no “undo.” If you wax, do a patch test 24 hours before (allergic reactions on eyelid-adjacent skin are miserable), never wax over moles, sunburn, or retinoid-treated skin, and press the skin taut. One strip per area, maximum.
Threading: best left to professionals
Threading gives beautiful precision but has a real learning curve, and DIY threading near your own eyes while looking in a mirror is an exercise in frustration. Book a £10 threading appointment for the initial shape, then maintain with tweezers at home — the best of both worlds.
The Step-by-Step Safe Routine
1. Brush up with a clean spoolie — this reveals your true shape and shows which hairs are actually out of place. 2. Trim, don’t pluck, the long ones. Brush hairs upward and snip only the tips that extend well beyond your brow line with small scissors. This alone fixes most “messy” brows. 3. Tweeze strays below the brow line, working outward from the nose, pausing every few hairs. 4. Clean up between brows conservatively — a little space reads as groomed; a lot reads as surprised. 5. Soothe with a cool damp cloth or aloe; skip heavy creams right after.
Then fill sparingly if you like: a brow pencil or powder one shade lighter than your hair, using short hair-like strokes only where sparse. Like a good capsule wardrobe, the goal is polish that looks effortless, not obvious effort. And remember that brows don’t exist in isolation — your overall grooming for an evening out should feel cohesive, with brows framing the face rather than dominating it.
Mistakes That Take Weeks to Fix
Chasing symmetry. Brows are sisters, not twins — nobody’s are identical, and pursuing perfect symmetry is how good brows get destroyed. Shaping when emotional or rushed. Tired, stressed, or late? Put the tweezers down. Ignoring regrowth patterns. If a hair has always grown in a spot, it will again — work with your growth, not against it. Tinting and shaping the same day. Do one, live with it, then do the other.
Growing Them Out: Fixing Past Mistakes
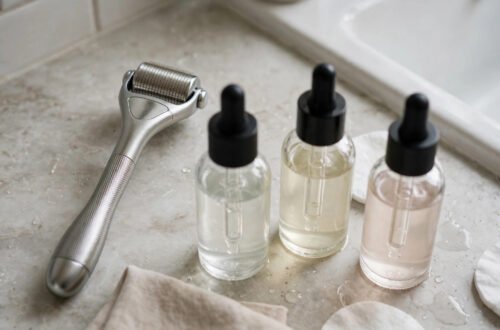
Already dealing with over-plucked brows? The recovery plan: stop all shaping for 6–8 weeks — yes, really, including the “just one hair” tidying that restarts the cycle. Stimulate growth with nightly castor oil or a peptide brow serum (evidence is modest but the ritual keeps your hands off them). Fill strategically while you wait — brow powder through the sparse areas, feathered strokes where hairs are missing entirely.
Resist the urge to “even them up” during regrowth; uneven regrowth is normal and temporary, while fresh plucking restarts the clock. Most people are shocked at how much comes back when left genuinely alone for two months. The brows you had at 16 are probably still in there — they just need an undisturbed season to return.
The Bottom Line
Shaping your eyebrows at home safely comes down to mapping your natural shape, working in daylight, tweezing slowly from underneath, and stopping earlier than you think you should. Start with a professional shape if you’re nervous, maintain with tweezers, and remember the golden rule: brows you barely touched always look better than brows you “fixed.” Your 2003 self would be proud.
Frequently Asked Questions
How often should I shape my eyebrows at home?
Most people need a tidy-up every 2–3 weeks. Plucking a few strays weekly keeps things neat without ever needing a major session — little and often beats occasional overhauls.
Is it better to tweeze, wax, or thread eyebrows?
For DIY, tweezing is safest because it’s the most controlled. Waxing is faster but riskier for beginners. Threading gives great results but is difficult to learn on yourself — best done professionally.
How long do eyebrows take to grow back after over-plucking?
Typically 6–8 weeks for full regrowth, though repeatedly over-plucked areas can take several months or, in some cases, never fully recover. This is why conservative shaping matters.
Can I shape my eyebrows if I have sensitive skin?
Yes, with care: tweeze rather than wax, do it after a warm shower when pores are open, and soothe afterwards with aloe. Avoid shaping during active breakouts or eczema flare-ups around the brow area.
Should men shape their eyebrows too?
A light tidy — removing the unibrow centre and obvious strays — suits everyone. The same rules apply: natural shape, daylight, restraint. Most men look best with minimal intervention.