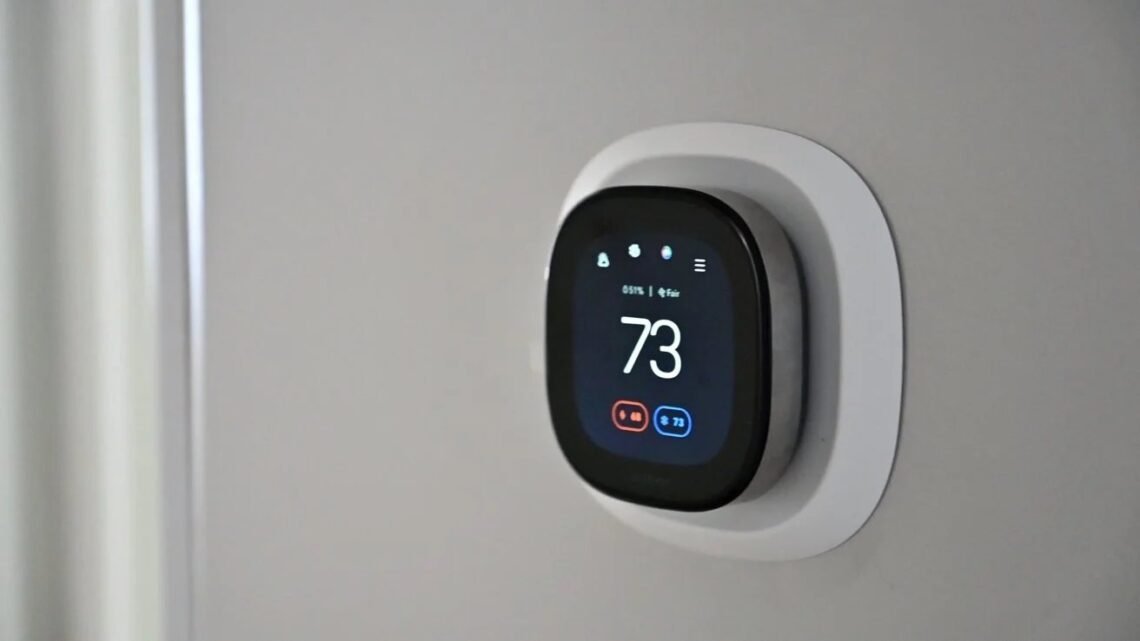
Installing a smart thermostat yourself is one of the most satisfying DIY upgrades — a couple of hours’ work that cuts heating bills by 10–15% and ends the “is the heating on?” arguments forever. I’ve installed three (Hive, Nest and Tado across different houses), and the process is genuinely straightforward if you’re comfortable with basic wiring. The key question isn’t whether you can do it — it’s whether your system is compatible. Let’s sort that first.
Before you buy: compatibility check
Boiler type: most smart thermostats work with combi boilers, system boilers and heat-only (regular) boilers. If you have electric storage heaters or an oil boiler with unusual controls, check the manufacturer’s compatibility tool before buying — Hive, Nest and Tado all have online checkers.
Existing wiring: smart thermostats need a constant power supply. Most use the existing thermostat wiring, but some installations need a common wire (“C-wire”) that older setups lack. Battery-powered options (some Tado and Hive configurations) sidestep this entirely.
Wi-Fi: obvious but often forgotten — the thermostat needs a solid Wi-Fi signal where it’s mounted. If your router is at the opposite end of the house, sort that first (a £25 Wi-Fi extender solves it).
Which system: Hive (£150–£200) is the simplest and very UK-friendly; Google Nest (£200–£250) learns your schedule automatically; Tado (£180–£220) excels at multi-room control with smart radiator valves. All work with Alexa and Google Home. For most UK homes with a combi boiler, any of the three is excellent — pick based on features you want, not marketing.
The Energy Saving Trust’s heating controls guide confirms the savings: proper heating controls (which is what a smart thermostat gives you) cut bills significantly.
What you’ll need
The thermostat kit (thermostat, hub/receiver, instructions), a small flathead and crosshead screwdriver, a voltage tester (£10 — non-negotiable for safety), your phone with the manufacturer’s app installed, and your Wi-Fi password. Optionally, a drill if you’re mounting the thermostat in a new position.
Smart thermostat installation: step by step
1. Turn off the power. Switch off the heating system at the fused spur and the consumer unit. Test with the voltage tester. Then test again. Mains electricity is not a learning opportunity.
2. Photograph the existing wiring. Before touching anything, take clear photos of your current thermostat’s wiring and the boiler receiver’s wiring. Label each wire with masking tape. This is your escape route if anything goes wrong.
3. Install the receiver at the boiler. Most systems (Hive, Nest, Tado) use a wireless thermostat communicating with a receiver wired into the boiler. The receiver replaces or sits alongside your existing programmer — wire it according to the diagram for your boiler type (the instructions cover combi, system and heat-only configurations).
4. Mount the thermostat. The wireless thermostat goes in your hallway or living room — NOT in the kitchen (cooking heat confuses it), not in direct sunlight, not above a radiator, and not in a draughty hallway corner. About 1.5m high on an internal wall is ideal. Most just sit on a stand or mount with two screws.
5. Power up and pair. Restore power, then follow the app’s pairing process — hub to router (usually Ethernet for initial setup), receiver to hub, thermostat to hub. It takes 10–15 minutes of app-guided steps.
6. Configure your schedule. Set heating times to match your life, enable geofencing (heating drops when everyone’s out, warms up when someone’s heading home), and set a sensible baseline — 18–20°C when home, 15–16°C background when away or asleep.
Getting the most from it
Use the features: geofencing alone saves most people 5–10%. Weather compensation (Tado and some Nest setups) adjusts for outdoor temperature. Smart radiator valves (£40–£60 each) let you heat rooms individually — the spare bedroom doesn’t need to be 20°C.
Don’t overcomplicate: a simple schedule that matches your routine beats a clever-but-wrong “learning” setup. Review the first month’s patterns in the app and adjust.
Keep your system efficient: a smart thermostat optimises when you heat, but the boiler still needs to be efficient — make sure it’s serviced annually (see boiler service costs) and your radiators are bled (how to bleed a radiator). Controls + maintenance is the combination that really cuts bills.
When to call a professional
If your wiring doesn’t match any diagram in the instructions, if there’s no fused spur (just wires disappearing into a wall), if you have a complex system (multiple zones, underfloor heating, heat pumps), or if anything makes you nervous — call a heating engineer. A professional install costs £80–£150 on top of the kit and takes them under two hours. There’s no shame in it; unusual wiring is genuinely tricky.
Smart radiator valves: the next step
Once the smart thermostat is running, smart radiator valves (TRVs) (£40–£60 each) are the upgrade that multiplies the savings. They replace your manual TRVs and let you set different temperatures per room from the app: bedrooms cool during the day, living room warm in the evening, spare room at frost-protection always. No more heating empty rooms because one thermostat says the hallway is cold.
Are they worth it? In houses with predictable room usage (home office used daily, spare room rarely), yes — users typically report another 10–15% saving on top of the thermostat alone. In small flats where every room is used equally, the benefit is marginal. Start with the rooms with the most extreme usage patterns (the always-empty guest room, the always-occupied office) and expand if the savings materialise. They fit standard radiator valve bodies in minutes — no plumber needed — and the batteries last about two years.
The takeaway
A smart thermostat costs £150–£250, takes 1–2 hours to install, and typically saves £150–£250 a year on heating — payback in about a year, then pure savings. Photograph everything before you start, turn the power off (twice-checked), follow the app, and place the thermostat sensibly. It’s the rare DIY job that’s easy, safe (if you respect the electrics), and pays you back every single month.